
iBLOPPER MATE can control a pair of Shelly Plugs and/or Athom Tasmota Plug V2 to control your heating agent and/or cooling system.
These Plugs needs to be on same local network as the iBLOPPER and hence, the iBLOPPER will trigger the target plug by the following http command on the local network by pointing at the plugs local IP adress.
If you router allows to set static IP, you should do so as else the IP can change in the router after powerloss or the lease of IP runs out. Leavng the plug on all time should renew the lease in the router and hence lower this issue.
Assuming you have set up the Shelly or Tasmota and can now control a light bulb/lamp by it from the respective apps, you should find the local IP adress of your Plug and include this in iBLOPPER CLOUD under “TempControl Settings”.

The hysteresis decides how much levage (over or under) target temperature is needed before the Plug should be turn on. Hence, this should ensure the Shelly Plugs trigger especially the cooler on/off just around the setpoint.
As soon as you have turn Temperature control on, you should be able to set the set temperature at the main screen:

You can use Shelly plug and Tasmota Plug for heating and/or cooling (Sonoff DIY is also supported, but at present time not really available). Currently we propose you buy “Athom – Tasmota Plug” as they is available, very easy to set up and shipped all over the globe. All plugs need to be on same local network as the logger and hence, the logger will trigger the plug by http command over the local network. The plug will be turned on for the “cycle” time you use for the logger + 60 secs and automatically turned off thereafter.
If you router allows to set static IP, you should do so as else the IP can change in the router after power loss or the lease of IP runs out, etc.
At time of writing the following plug has been proven to work:
- Shelly PLUG S
- Shelly PLUS PLUG US
- TASMOTA Martin Jerry Mini Smart Plug
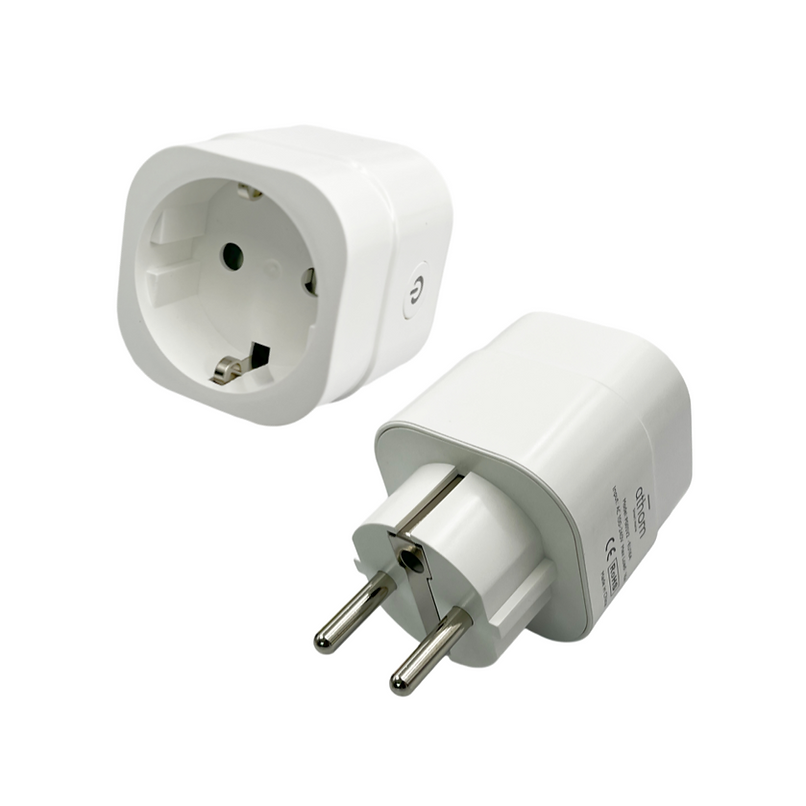
- Athom – Tasmota EU Plug V2
- Shelly 1
- Shelly 1 PM
- Shelly PRO 1
- Shelly PRO 1 PM
If you have issues in finding the IP please try use router table or “Advance IP scanner” to obtain it.